How to Take Your Best Photo ID Badge Picture
Whether you’re the subject of the photo or the person behind the camera, there’s an art and science to taking the best photo ID pictures for use on security badges, driver’s licenses, passports, and other forms of photo ID.
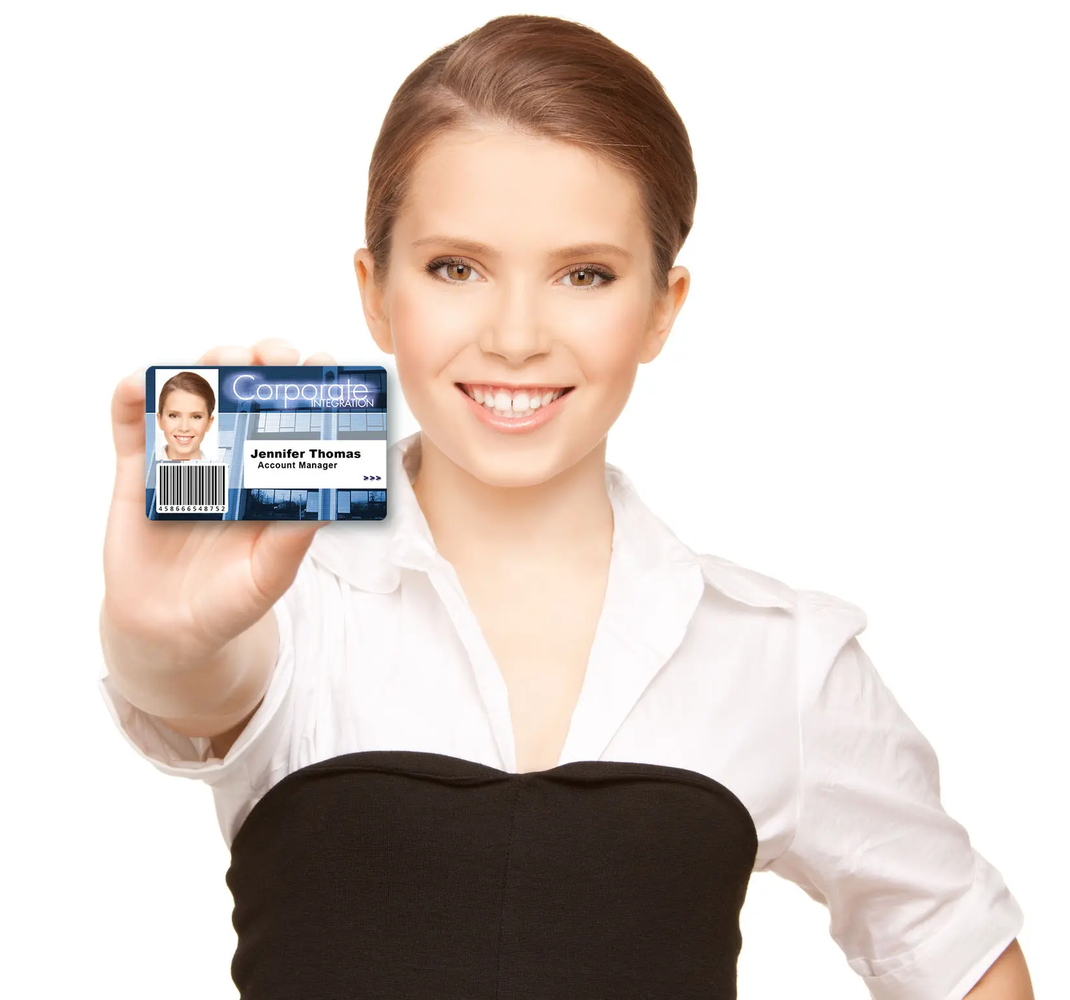
And whether you’re the subject or the photo taker, you want to present the best possible photo. Especially for company IDs that employees are required to wear, you want your company represented professionally, and that starts with a professional head shot for your photo ID badges.
Tips for Subjects
Give a Mona Lisa smile. Not too much teeth, but definitely not scowling. Just a slight smile adds warmth to your picture.
You can lose the 10 pounds that pictures seem to add by moving your neck forward and leaning slightly out or away from the camera. It works to tighten your jawline, which makes you look like you lost 10 pounds.
The best tip is to practice taking selfies with your smartphone. Learn what’s your best angle (the head tilt that shows off your face to its advantage) and learn how to smile slightly with slightly squinty eyes. Experts say slightly squinty eyes make you look confident.
Make sure your hair is neatly arranged away from your face. Hair in your face throws shadows that can make you look older and more tired than you really are.
Finally, choose a colorful top without big patterns. Bright white, nude, or taupe colored shirts can wash out your face in photos, so go with a darker color like black, navy blue, or dark green.
Tips for Photographers
Most photo IDs are taken by non-photographers, most likely someone in the company or in the driver’s license bureau who works the camera to take a head shot. Here are some tips from experts to help you take the best picture possible.
Know how to set the stage. For example your background should be a plain, uniform color with no patterns or pictures. Blue works best for corporate head shots, but white helps a picture pop out even more.
Have your subject stand or sit 1 foot away from your background. This helps photos look the same across your company’s ID badges and also helps to eliminate any shadows that might show up.
The lighting shouldn’t be too close to your subject because it will cause a shadow behind them that shows up in the picture. Move your lighting at least 3 feet away from your subject.
Consider a tripod to help steady the camera, and keep it in the same location. You can adjust the height of the camera on a tripod to center your subject’s head and shoulders in the frame of the photo. This also helps your photo IDs look similar across the board.
The IDSecurityOnline Difference
With the above tips, you’ll be prepared to produce the best company photo IDs, driver’s licenses, or other cards for your employees, users, and guests.
Who knows? You may even like your photo after it’s been taken.
IDSecurityOnline sells complete photo ID systems that include the ID card printer, a USB camera, and the necessary supplies to produce professional looking ID cards in less than 15 minutes. Our systems are simple to use and create high quality photos that will represent your company in the best light possible.
Call one of our experts today to discuss the options available. We’re vendor-agnostic, meaning we don’t sell just one vendor’s product. Our professionals are well-versed in every system available and can help guide you to the solution that best fits your needs and your budget.


