How to Design Custom Lanyards That Make a Statement
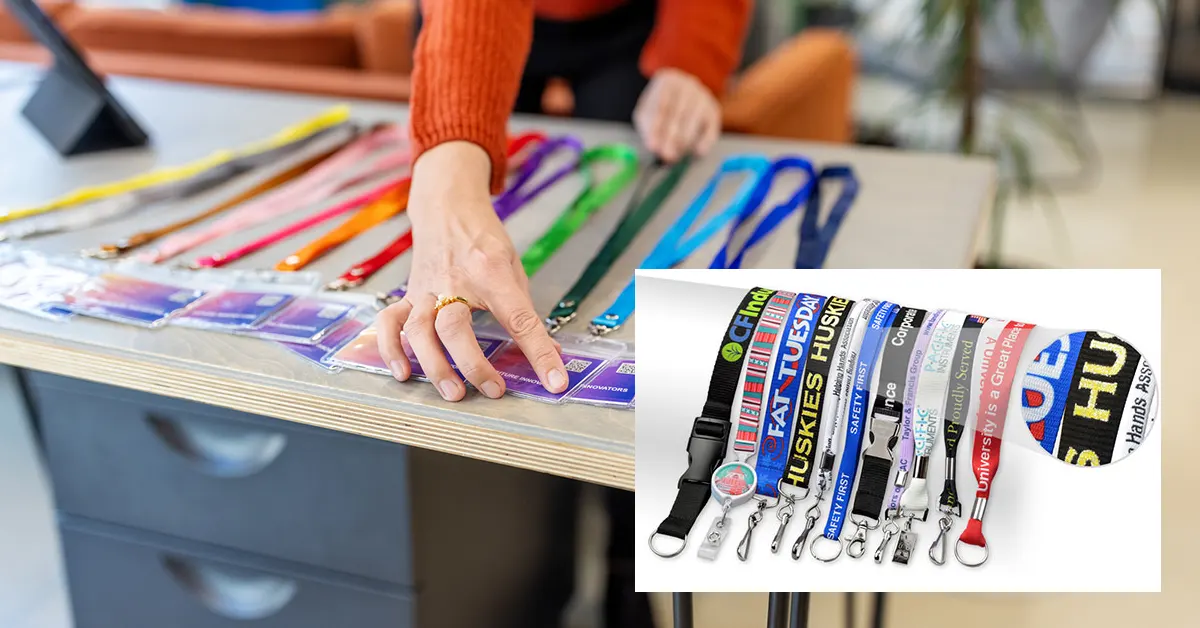
Lanyards may seem like simple accessories, but when you design them thoughtfully, they become powerful tools for branding, safety, and style. Whether you need them for events, staff IDs, trade shows, or schools, getting the right custom lanyard makes all the difference. Here’s a walk-through on getting it right, inspired by the Design Your Custom Lanyards service from IDSecurityOnline.
What to Consider Before You Start
Before you jump into design, keep these in mind:
- Purpose & Audience: Who will be wearing the lanyards, and where? Staff, visitors, students, or event attendees? Indoor or outdoor use?
- Branding: Logo, colors, and text should reflect your company or event branding cleanly.
- Durability: Materials, attachments, and printing methods affect how well your lanyards hold up to daily wear.
Step 1: Choose Your Print Process
IDSecurityOnline offers three main methods:
- Silk-Screen – the go-to option. Great for bold logos or limited number of logo colors. Works on most materials (except woven). Ideal for showing your brand in crisp, simple tones.
- Dye-Sublimation – best for more complex artwork, gradient colors, or full-wrap designs, where you want high detail.
- Woven-In – for texture and subtle elegance; logo is woven directly into the lanyard material. More durable long-term but less sharp for very fine detail.
Step 2: Material & Width
These aspects affect both comfort and visual impact.
- Width options range from very narrow (¼?) to wide (up to 1?). Narrow widths are lighter and less obtrusive; wider widths give more space for logos or messaging.
- Material choices include Microweave, Ultraweave, Optiweave — each offering different feel, flexibility, and print quality. Think about whether you want something lightweight or a seam with more structure.
Step 3: Color & Finishing Touches
This is where your lanyard starts to really embody your style.
- Base color: Black, royal blue, white, red, teal, etc. Choosing the right base color can enhance readability of logos/text.
- Break-away safety feature (available for a small extra charge): useful for environments where wearer safety is a concern.
- End fitting options: Hooks, clips, split rings, trigger snaps, etc. The type you choose affects utility — e.g. how badges attach or durability.
Step 4: Customization
Here’s where you get personal:
- Text: Add your slogan, company name, or event information. You’ll choose text color to contrast well with the base color.
- Logo: You can upload your logo and pick number of colors used for printing. A proof will be emailed before the final production. Always inspect the proof, especially for clarity and color match.
Step 5: Get Your Quote & Finalize
Once design elements are chosen (print method, width, material, color, attachments, text/logo), you fill in your contact info, choose shipping method, and quantity. You’ll receive a free quote. IDSecurityOnline promises a rep will confirm your selections and send final details.
Tips for a Stand-Out Lanyard
- Use high-contrast text/logo colors to ensure legibility.
- If the logo has fine details or gradients, avoid printing methods that flatten details — opt for dye sublimation or high-quality woven if possible.
- Consider usage: if lanyards will be worn constantly, pick materials and attachments built for durability.
- Safety first: break-away clasps are inexpensive but can prevent accidents.
- Order a sample if possible before placing a large order.
Designing a custom lanyard doesn’t have to be complicated. With the right process, materials, and attention to detail, you can create something that’s functional, attractive, and aligned with your brand. If you like, I can put together a checklist or guide PDF to help you in your design process — want me to do that?


